
I love to test a kitchen gadget but especially when it’s one that helps with your baking. This Russel Hobbs Aura 6 in one hand held whisk is really clever. It has the ability to perform six tasks.
-
- Processing
- Creaming
- Slicing
- Shredding
- Blending
- Whisking
The Aura has a 600W motor so it’s got the perfect amount of power to handle anything from whisking egg whites to grating cheese.
There are two attachments for the main stick. A stainless Steel blending leg which is for making smoothies, soups and pancake mixes till they are really smooth and creamy and a stainless steel whisk which will make really light work of egg whites for meringues.
Why it’s a winner
What makes this gadget a winner in my eyes is the 1.2 litre processing bowl. It’s just like having a food processor but without the cost or the weight! The three attachments that fit into the jug are the processing blade which is great for mixing up cake mixes and doughs – or in this post’s case, crushing biscuits into crumbs in a matter of seconds for a cheese cake base; the creaming disk which is for creating the smoothest of sauces and mayonnaise and the slicing / shredding disk which is great for grating carrots, cheese, courgettes etc- coleslaw anyone? The list of what it can do goes on and on.
Russell Hobbs sent me this Aura to test and set me the challenge of making a cheesecake with it and I have to say I haven’t stopped using it since. I’m currently making up a pancake recipe for a post I’m doing for Achica for pancake day and the stick blender made light work of mixing up all the different combinations I tried – and there were a lot! More on that in February. I also made a triple chocolate mouse to take to a friends last week and that involved a lot of whisking which the whisk handled with ease.
“So what about the cheesecake?”
I hear you cry? Well I made it. Chocolate cheesecake is my all time favorite cake (at the moment) I may have mentioned that before. So that’s what I made. But Tim doesn’t like it and the girls won’t touch cheesecake at all so…….. can you guess where this is going? I ate half of an 8″ double chocolate cheesecake on my own! And worst of all I didn’t even take a photo of it as my camera wasn’t working!!! So I decided to improve on my recipe when I was invited for a Christmas lunch with the Tennis mums, and that way I couldn’t eat the whole thing on my own. This time I made a chocolate cherry cheesecake and it was deelish. Maybe even better than the first one! Half of that cheesecake came home (thanks to a delivery from Caroline – thanks hun) so I got to take pics with my now fixed camera and I very quickly took the rest round to my sisters…… after I had eaten another couple of slices. I really need to add a few more miles to my runs!
So here’s the recipe. It’s dead easy to make but even easier to eat and makes a great desert whether it’s Christmas, Easter or just for the hell of it.
Chocolate Cherry Cheesecake recipe
For the base
- 100g digestive biscuits – crushed to smitherines
- 40g butter
For the cake
- 600g full fat cream cheese (low fat ones just don’t work!)
- 115g Caster sugar
- 1 tsp vanilla essence
- 2 large eggs – separated
- 280ml double cream
- 100g dark chocolate
- 1 tin of cherries drained – but keep the juice to one side.
For the Glaze
- 100g caster sugar
- 2 tbsp flour
- 200ml the juice from the cherries – add water to make up to 200ml
- Line the bottom of an 8″ cake tin with silicon paper. Pre-heat your oven to 160C (140C for fan ovens)
- Melt the butter in a saucepan over a low heat and add the biscuit crumbs. Stir till all the crumbs are coated. Press into the bottom of the cake tin and chill in the fridge while making the rest of the cake.
- Break the chocolate into small pieces and set in a bowl over a saucepan half filled with simmering water. Make sure that the bowl does not touch the water. Melt the chocolate then set aside to cool a little.
- Whisk the cream till it’s thick; but not solid then add the rest of the cake ingredients. Slowly add the cooled chocolate. I wanted there to be a few lines of plain cheesecake in with the chocolate cheesecake but I over mixed it!
- Finally add the drained cherries and mix – then pour the mixture over the biscuit base. Pop in the oven for 45 minutes. It will look a bit wobbly on top when it’s done. This is right. It will continue to set once out of the oven so just look for the edges of the cake to be coming away from the cake tin ever so slightly. Set aside to cool. The middle of the cake will sink a little. I like that. It means the glaze won’t dribble over the edge.
- To make the glaze place the cherry juice in a saucepan over a low heat and add the sugar. Stir until dissolved. Add the flour slowly. I use a mini sieve to sprinkle it over the top of the liquid gradually and mix well as I add more. That way I don’t get lumps. Lumpy glaze. Yuck! Continue to stir and allow the mixture to bubble gently for 4-5 minutes. Set aside to cool a little before pouring over the still warm cheesecake (which is still in the tin)
- Leave the cake with the glaze to cool completely then chill in the fridge over night (or for at least four hours).
- Remove the cake from the tin by placing a small bowl on your worktop and placing the cake tin on top. Press the cake tin down from the sides so the cake comes out. You should be able to remove the cake from the base of the cake tin but it’s not really necessary.
- Serve and eat within two days.
The first video review
I’ve been thinking about doing short 5 minute video reviews of kitchen gadgets on the blog for a while now so this seemed like the perfect time. It’s not long and it’s not professional but I hope you like it. Here’s the Russel Hobbs Aura 6 in one hand held whisk i
Enjoy!
EmmaMT x
Disclaimer: The product in this post was provided by Russell Hobbs (Thanks you guys I love it) All thoughts and opinions and entirely my own.
More Cake Decorating Posts you may enjoy
How to cover a cake in chocolate ganache
Buttercream Recipe for Different Size Cakes
What size eggs should I use for baking?
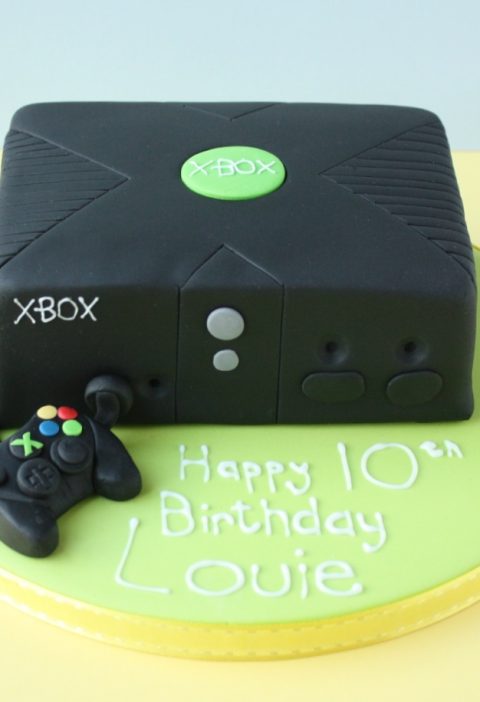
How to make a Mario and Yoshie Birthday Cake
How much sugar paste do I need ?